

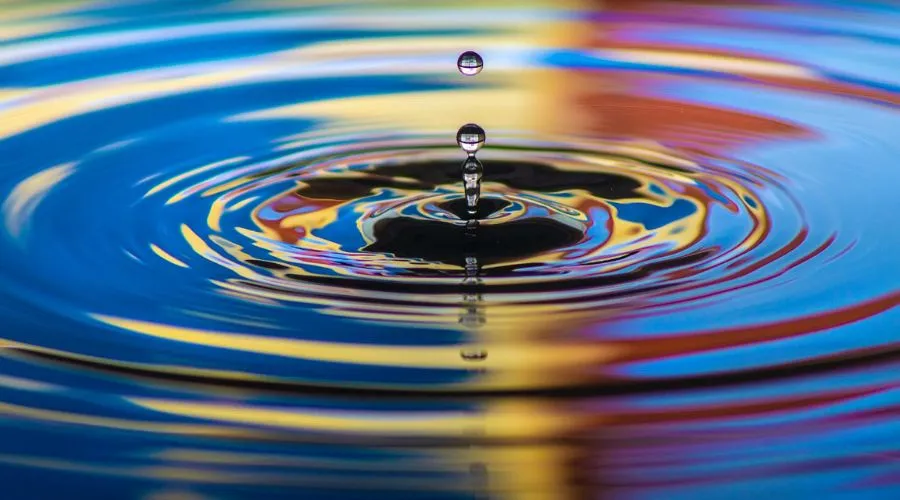
The term ‘ripple’ gives us a little idea that it has something to do with the effect of water. The ripple effect means the effect that spreads and continues, like when you throw a stone in water. You can create this effect for the whole image or any specific part of the image. It is important to use this feature carefully and clearly or it can distort the image, and you will have to begin from zero. Follow the necessary steps very carefully while doing so, and it will give a clean and natural edit to your image or video. However, once learned, the ripple effect is relatively easy to use as compared to other filters and edits.


Steps to use Ripple Effect constructively
You can follow the steps below and photoshop your images beautifully using the ripple effect. These steps will guide you step by step and explain every important function to do so. Let’s begin –
- On the top of your screen, you will find a Menu Bar. Click on the ‘file’ option from this menu bar and select ‘open.’ You can also press Ctrl + O on the keyboard for the same.
- A dialogue box will appear in front of you from where you are supposed to select an image already saved on your device. Click and drag this file on the screen or you can also make a duplicate copy of this image and convert it into a layer from the layer panel.
- Now, right-click on this layer and select the ‘Convert to Smart Object’ option from the drop list. The Smart Object is a feature that can contain multiple layers together, and the usage of tools, layers, filters, and editing becomes efficient to create a ripple effect. So, when this layer is edited or resized, this layer will work as a non-destructive layer.
- Press Ctrl + T on your keyboard to make a dialogue box appear on the screen. Right-click on your mouse and you will see a drop list. Scroll down, and click the ‘Flip Vertical’ option to obtain a mirror effect.
- Move this flipped layer a little downwards and press ‘enter.’ It will result in the completion of the transformation.
- Now, move the layer in the background a little higher and place it above the flipped image in a way that one layer looks like the reflection of the other.
- Use the ‘crop tool’ to crop out the unnecessary parts of the image. After you are sure about the design, click ‘enter’ to finalise your edit.
- To create the ripple effect, go to the ‘file’ option in the Menu bar again and select a new document by clicking on ‘New.’
- There are various choices to decide the size of the new document. It should be according to your image size. You can select 1000 x 1000, 500 x 1000, 200 x 200, 2500 x 2500, and many more. Ensure that the selected document size goes perfectly with your chosen image for the ripple effect.
- Go to the ‘filter’ option in the Menu bar on the top and click on it. Scroll down and select the ‘Render’ option from the drop list, and a second list will appear. The fourth option in that list is ‘clouds.’ Select the ‘clouds’ option. The cloud effect will apply to your image.
- Now, this is a very important part of this process. Again, go to the ‘filter’ menu and this time click on ‘distort.’ Here, the fourth option from the top is the ‘ripple effect.’ Click on it.
- A box will appear on your screen. From this box, set the amount of this effect through the Amount Slider. Move your mouse across the screen, and set it, or you can also enter it through your keyboard.
- With the help of the Brightness and Contrast Adjustment Layer, adjust both of these elements accordingly, or you may also use the Levels Adjustment Layer for a better effect of shadows and highlights on your image.
- Go to the ‘distort’ menu again and this time select the ‘zig-zag’ option. You will see a dialogue box with three options- Pond Ripples, Out from Center, and Around Center. Select your desired option for that image and set the Amount Slider accordingly.
- In your device, save this ripple effect in the .psd format by pressing Ctrl + S on your keyboard or clicking on ‘Save’ through the file menu.
- Now, select the downward layer of your image in the layers panel, and through the ‘Filter’ menu, click on ‘Displace.’ A dialogue box will open, wherein you have to adjust the parameters, that is, horizontal and vertical scale values for this effect.
- Once you are done adjusting the parameters, you will be asked to choose the file that you want to displace this file with. Select the file saved previously in the 15th step. It will give you the required ripple effect.
- Move and place this layer exactly where you want to. Use the mask layer so that both layers blend properly and complement each other.
Conclusion
The ripple effect provides a very unique and artistic look to your photos. Carefully read and follow the steps mentioned above and create a realistic effect on your photos. In the steps above, there is only one way described. Discover all the other options available and explore all the features. Check out Adobe and the Trending Cult website for more information.