

GIFs have grown in popularity on social media sites as a means of expression. They are brief, looping animated segments that can be utilised for a range of things, from humour to product promotion. Even though there are many web tools for making GIFs, Photoshop provides a complete and flexible platform for making a GIF in Photoshop with distinctive effects.
GIFs can be made with the help of Photoshop, a potent image-editing tool, along with various other digital art. It is a perfect tool for those who want to make personalised GIFs with particular designs and styles because it has various features that enable users to create spectacular visual effects.
It’s enjoyable to create a GIF in Photoshop, and it’s not as difficult as it might seem. Anyone can make distinctive GIFs that stand out from the crowd with some imagination and perseverance. Learning how to make a GIF in Photoshop is a worthwhile learning talent, regardless of whether you are a graphic designer, a social media influencer, or just someone who wants to add some fun to your online presence.
This article will guide you step-by-step through the creation of GIF in Photoshop, from workspace setup to the addition of animations and exporting the finished product.
We’ll go over all the necessary procedures and give you tips and pointers so you can make GIFs that look great and wow your audience. Let’s start if you’re ready to use your imagination and create your GIF in Photoshop. 


Learn to create GIF Effect in Photoshop
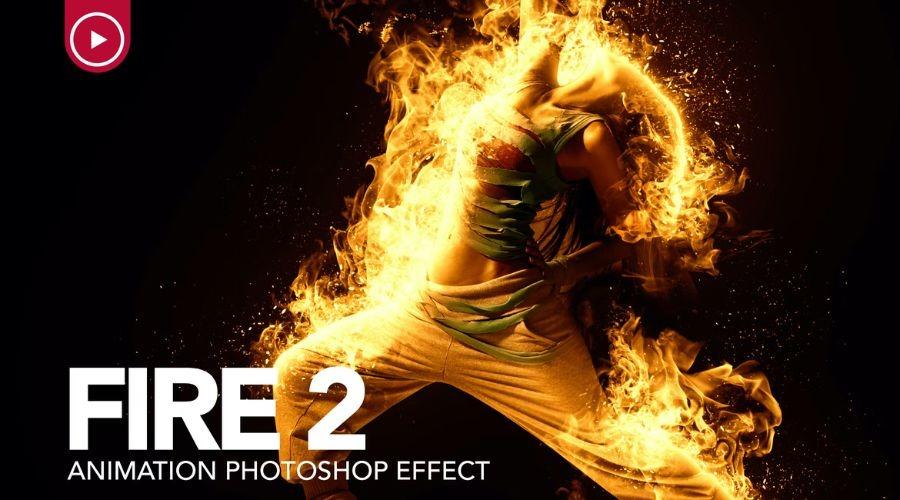
The fun and exciting process of applying a GIF in Photoshop can give your pictures a distinctive touch. We’ll walk through the procedures of how to make a gif in Photoshop.
Step 1: Open your image.
Open the picture you intend to use for your GIF effect first. The File menu’s Open option or the Ctrl + O keyboard shortcut will accomplish this.
Step 2: Change image size.
You can change the image’s resolution after opening it to meet your needs.
Step 3: Import a video clip.
Import the video file into the document tab after that. You can choose a video clip from your computer under the Open option.
Step 4: Alter the speed of the video clip.
After importing your video clip, 50% speed up the timeline by going to the Timeline area. If your video clip is too lengthy, speed it up and include every frame in your GIF in Photoshop.
Step 5: Move and copy the video clip.
You can duplicate the video clip by choosing the layer in the Layer panel and hitting the Ctrl + J button. The duplicated layer should then be moved over to the video clip’s right.
Step 6: Convert to a smart object in step six.
Right-click on the two movie layers to select them. Select the Convert to Smart Object choice from the list.
Step 7: Rename your video clip.
Give your video clip a new moniker to make it more memorable.
Step 8: drag the video clip to the GIF image tab.
Drag your video footage to the GIF Image tab and change its dimensions to meet your needs.
Step 9: Make the Background Layer Editable.
To modify the background layer, double-click on it. After giving this component a name, click “Ok.”
Step 10: Create a video timeline.
In the Timeline area, select both layers, then hit the Create Video Timeline button.
Step 11: Adjust the video clip length.
By dragging it or lengthening the image layer, you can change the length of the video clip to mirror that of the layer.
Step 12: Add a mask to the waterfall layer.
To apply a mask, select the waterfall layer and click the apply Mask button of the adjustment layer.
Step 13: Brush the tool
Set the height and softness of the Brush tool after choosing it.
Step 14: Set the Foreground Colour.
Make the main colour black.
Step 15: Trim the Waterfall’s Sharp Edges
Sharp edges on the top and lower tiers of the waterfall can be removed using the Brush tool.
Step 16: Add a layer mask to the image layer.
Set the brush size when adding a layer mask to the picture layer.
Step 17: Reduce the Brush Tool’s Opacity
10% should be the new brush tool’s density.
Step 18: Add Real Water Effect.
Click on his head to create a realistic water impact on the boy’s face behind the waterfall.
Step 19: Copy the video clip.
Make a copy of the film for a better view of the waterfall.
Step 20: Add an audio track.
Your GIF can also have an audio recording added to it.
Step 21: Save Your GIF.
Select the Export choice from the File menu. After that, choose Save for Web to save your GIF.
Step 22: Preview Your GIF in Photoshop.
The GIF preview will take some time to complete depending on how quickly your computer system processes information.
Step 23: Set the preview size.
Specify a 50% sample size.
Step 24: Select the GIF format.
From the selection, select the GIF format.
Step 25: Select a colour palette.
Pick a colour scheme that best fits your tastes.
Step 26: Save Your GIF.
GIFs can be saved to computers.
Conclusion
Creating a GIF in Photoshop is a creative and enjoyable way to improve them. You can add animation and movement to your images in just a few easy steps, which will help them stick out on social media platforms and other digital spaces. You can quickly make your GIF on Photoshop effects by following the instructions in this article. Remember to experiment with various settings and methods to get the intended result. Make sure to visit Trendingcult to learn more about Photoshop and other art software tools. Both novice and expert users can find a wealth of information and lessons on their websites. You can advance your multimedia works with their assistance!