The initial thing you should learn about Photoshop if you’re a beginner is how to traverse an image, which includes how to zoom in and out from one place to another using the Zoom tool. The fundamentals of zooming and panning photographs are covered, along with the tools and commands you need to be familiar with. But a good amount of useful shortcuts can help make things go faster. We use Zoom in Photoshop, which is located near the bottom of the toolbar, to choose which area of the image we want to zoom in on.
What is the Zoom Tool in Photoshop?
One of Photoshop’s most useful and often-used tools is the zoom tool. Each of Photoshop’s standard tools can be used for a variety of different graphic design projects. The Zoom tool can assist you when you need to drill down for utmost precision in your project or step back for an overview.
Why is the Zoom Tool required?
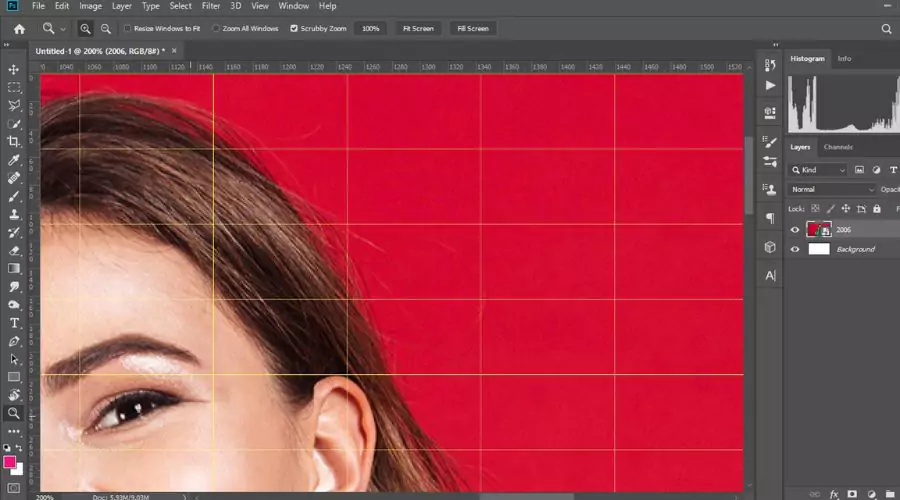
In Photoshop, each image, photo, or another project will open at a predetermined size. The upper border of the image inside the software will display the zoom percentage (for instance, 50%). For the most accuracy, you must be able to see an image clearly at its highest resolution when editing and revising it closely. The Zoom tool is really useful for this. When you work on a project, you may even utilise the Zoom tool simultaneously, making it simple to observe how your edits are affecting the finer parts of your image.
Using the Zoom Tool
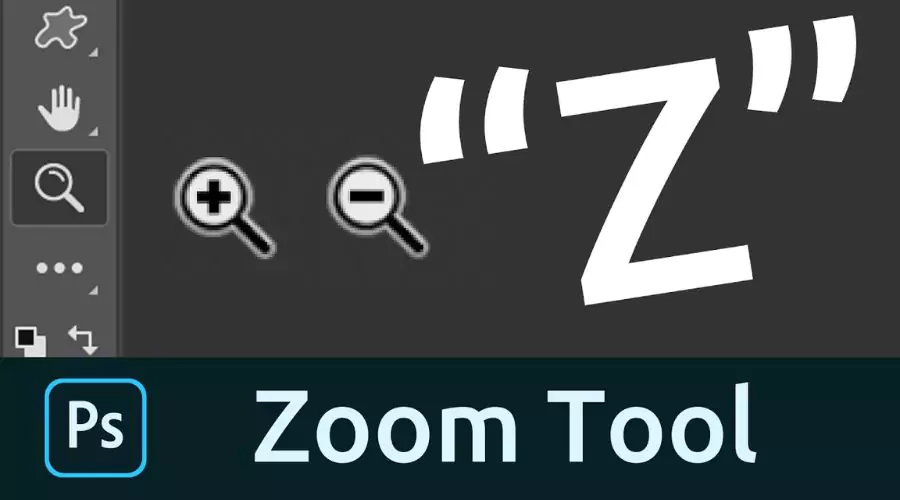
The zoom tool is indicated by the icon of a magnifying glass, as one might assume. To zoom in on a specific area for optimum precision and clarity after choosing the tool, simply click on it. You can change the tool’s behaviour from zooming in to zooming out for even more strength.
You may see a tiny + symbol inside the magnifying glass when the tool is set to zoom in, which it is by default. You can notice a little minus sign in the same location if you zoom out using the tool’s settings. This allows you to use the same tool to gain both a close-up and a broad perspective of your image.
Step by step method on how to use the Zoom Tool

- By pressing the letter Z on your keyboard, you can also choose the Zoom Tool. Your mouse cursor becomes a magnifying glass with a plus sign in the centre when the Zoom Tool is selected.
- To zoom in, use the Zoom Tool to click on the region. Click again to zoom in even closer. You are getting the most accurate view possible since the Zoom Tool uses the same default values as the Zoom In and Zoom Out commands that we previously examined (such as 25%, 33.3%, 50%, 66.7%, and 100%).
- Press and hold the Alt key on your keyboard or the Option key on a Mac to zoom out with the Zoom Tool. The plus symbol will turn into a negative sign. Then, pick a region to zoom out, and click again to zoom out even more.
How to use Zoom Tool with keyboard
Therefore the Zoom Tool is excellent for focusing on a certain area. But, a preferable method is to temporarily access the Zoom Tool from your keyboard rather than selecting it from the toolbar each time you need to zoom in or out. This is the shortcut for Zoom in Photoshop:
- Simply press the spacebar while holding down the Ctrl key on a Windows computer or the Command key on a Mac. To prevent a conflict with the MacOS operating system, Mac users may need to hold the spacebar first before pressing the Command key. The Zoom Tool will remain active while the keys are pressed, allowing you to select an area to zoom in.
- To zoom out, press the Alt key, or the Option key on Mac. You can return to the previous tool by releasing the Alt or Option key and all other keys to allow you to keep working after zooming in.
How to use the Continuous Zoom feature

The Zooms Tool also has a feature called Continuous Zoom that you can use. When you want to zoom in, click the region you want to and hold down the mouse button while doing so. Photoshop will begin constantly zooming in after a brief delay until you let go of the mouse button. Click and hold while holding down the Alt or Option key to constantly zoom out.
The Zoom Tool: How Might It Benefit Your Project?
You can zoom in to a maximum magnification of 3,200 per cent or zoom out to a view that is only 1 percent of the original size. Although it’s unlikely that you’ll ever experience anything close to these extremes, you can still see how flexible and wide-ranging the view options offered by the Zooms tool are. While drawing with a tablet, higher percentages allow for less inaccuracy and more intricate detail. For those who create game sprites, seeing your image pixel by pixel at the highest % is great. Then, you may zoom out to more clearly see the overall impact your actions are having on the entire image by using the Zooms tool.
Conclusion
By using the Zoom Tool, you may conveniently quickly zoom into or out of a picture. This photoshop tool will help make your work more detailed. When you click “Z,” the Zoom Tool will appear. It’s crucial to use the Zoom Tool to enhance minute information that customers can see when zooming in. 100% of the fashion brands we looked at featured some kind of zoom functionality for customers, suggesting that zoom looks to be a crucial feature for online stores. For more information, tips and recommendations, visit Adobe and the official website of Trending Cult.


