

Greetings, and welcome to this Magic Wand tool tutorial! Numerous graphic design and photo editing programs, including Photoshop, Illustrator, and GIMP, all include the Magic Wand as a necessary tool. It is a strong tool that makes it simple to quickly isolate particular areas of an image based on their colour or brightness, making editing or manipulating them simpler. Instead of painstakingly selecting every pixel, you can quickly select a sizable portion of an image with the tool. To help you make the most of this useful tool in your design projects, we’ll take you through the steps of using Magic Wand Photoshop in a variety of situations in this tutorial.
Learn about Magic Wand Tool with Adobe
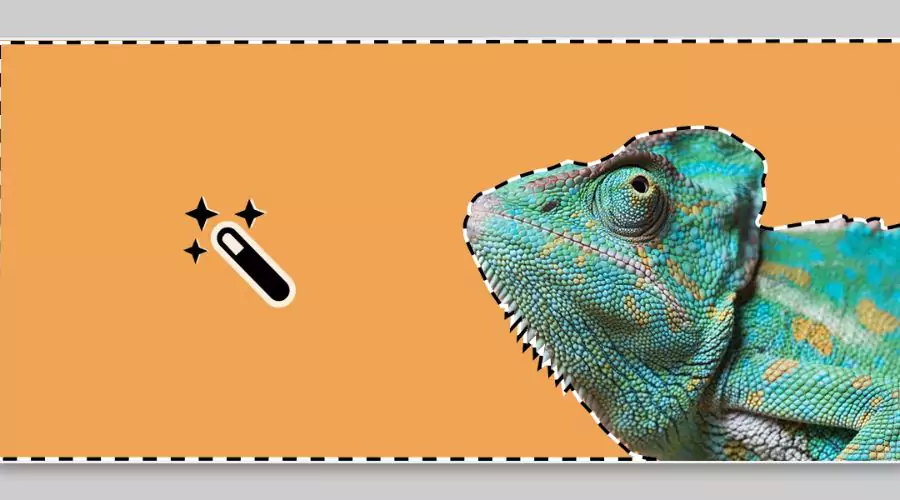
Photo editings and graphic creation software, such as Photoshop, Illustrator, and GIMP, frequently include the Magic Wand tool. You can use this effective tool to pick out particular areas of a picture based on their colour or brightness. Instead of manually selecting every pixel in an image, it can be used to select sizable portions of an image swiftly and easily with just a few clicks. When you need to make exact selections in an image, such as removing the background or focusing on a specific item, the tool is particularly handy.
The range of chosen colours or brightness levels, as well as the tolerance level, which determines how closely the tool will match the colours or brightness levels in the picture, can all be changed by modifying the tool’s settings. With some experience, the tool can grow into a valuable tool for graphic design and photo editing.
Selection and masking in Photoshop with the Magic Wand Tool
With the help of Photoshop’s Magic Wand Tool, you can quickly and easily choose and mask specific areas of an image, such as changing or removing a merchandise photo’s background. This tutorial will teach you how to select and mask in Photoshop like an expert using the Tool.
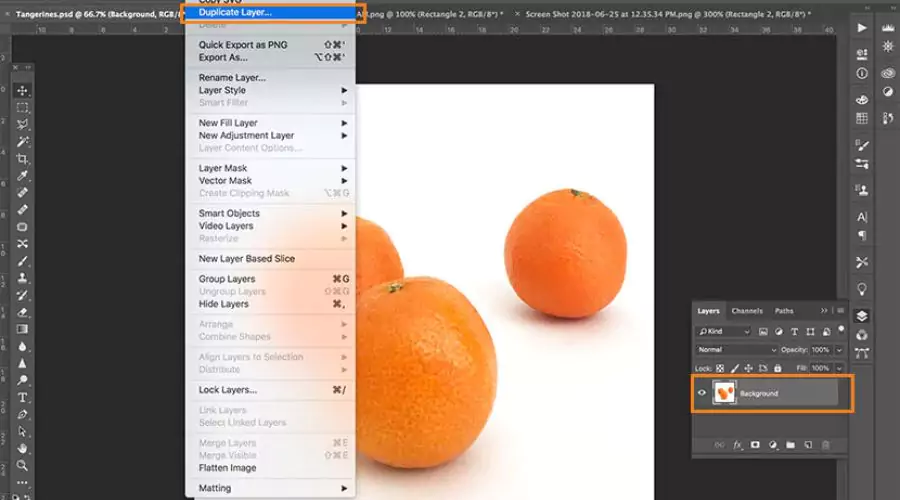
- The background layer should be duplicated by selecting Layer > Duplicate Layer when your product picture is open in Photoshop CC18. Giving your duplicated layer a name showing the background has been removed, such as “isolated,” can simplify your file for others to use. You will have the option to name your duplicated layer.
- To ensure that the original background won’t be visible or distract you while you begin to alter your duplicated layer, select the eye icon next to the image thumbnail to hide the background layer.
- Use the Magic Wand from the Tools palette or the “W” keyboard shortcut to determine how much or how little is selected at once. To modify your pick, you can select Single Pick, Add to Selection, Subtract from Selection, and Intersect with Selection.
- Depending on the background of your image, there are two ways to choose the topic. If the background is mostly made up of a single solid colour, use the Magic Wand Tool to select the background and then use SHIFT+CTRL+I (or SHIFT+COMMAND+I on a Mac) to reverse the selection to isolate the topic only. Select the topic of your photo using Photoshop CC18’s Select Topic option if the background is multi-coloured.
- Refine the edges of your selection after creating it, then add a new background to your image. Making your product stick out against various backgrounds and meeting the requirements for marketplace product photos on sites like Amazon or eBay can be done quickly and easily using Photoshop Magic Wand Tool.
Use the Magic Wand Tool for Product Photos

Hey there! Are you an e-commerce seller or commercial photographer seeking to differentiate your product photos? So let me teach you about Photoshop’s Magic Wand Tool! This handy tool allows you to pick out specific areas of your picture and mask them, and it comes in handy in a few different situations.
Say, for instance, that you want to display your merchandise in various contexts to give your customers a better sense of its relationship with them. The Magic Wand allows you to alter the background of your picture and add various environments. Or perhaps you want to display various product colours without having to capture a ton of photos. You can choose your object and change its colour using the Tool without changing the background.
The Magic Wand can also be used to remove the background from your merchandise image completely. By doing this, your product will stick out on its own and attract customers. Additionally, a white background image is required if you intend to sell your products on third-party marketplaces like Amazon or eBay. You can quickly build one of these and begin marketing your goods online using the Tool. What are you still holding out for? Try out the Magic Wand Tool to brighten up your product pictures!
Conclusion
Business photographers and online retailers looking to improve their product photographs may find the Photoshop Magic Wand Tool to be useful tool. You can quickly choose and mask particular areas of your picture using this tool, enabling you to change the size, colour, and background of your product photos without having to take new ones.
The Tool can assist you in achieving your goals, whether you’re trying to showcase your product in various settings, create an image with a white backdrop for online marketplaces, or simply get rid of distracting objects from your photos. Visit Trendingcult’s website for more useful tips and tutorials to learn more about using Magic Wand Tool Photoshop to enhance your product pictures. You can take stunning product pictures that will make you stick out in the crowded e-commerce market of today with a little practice and perseverance.